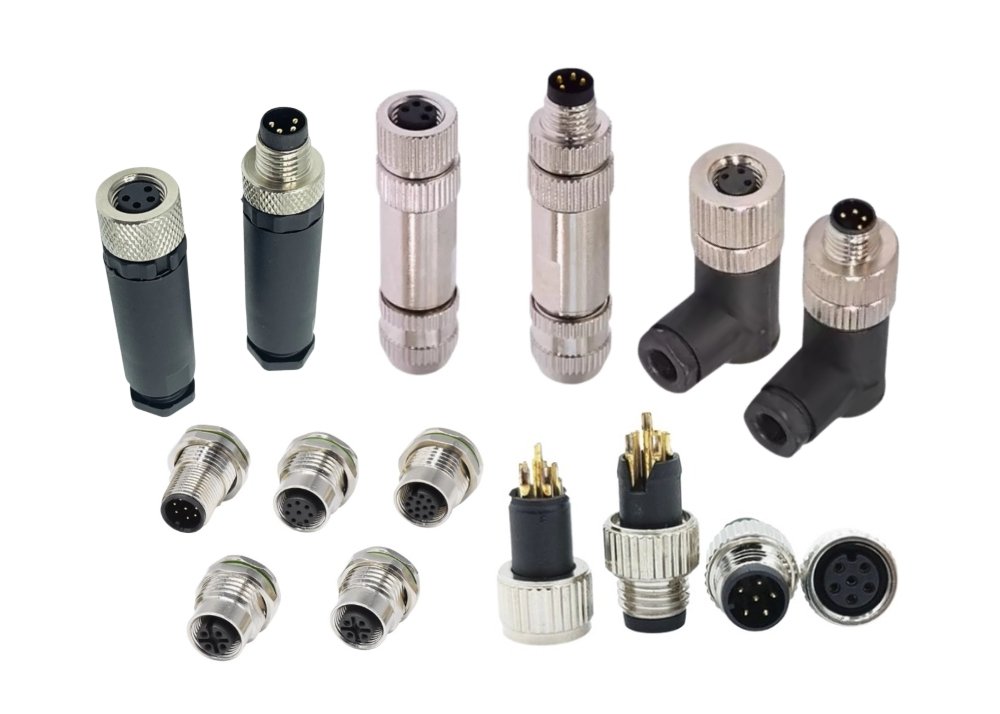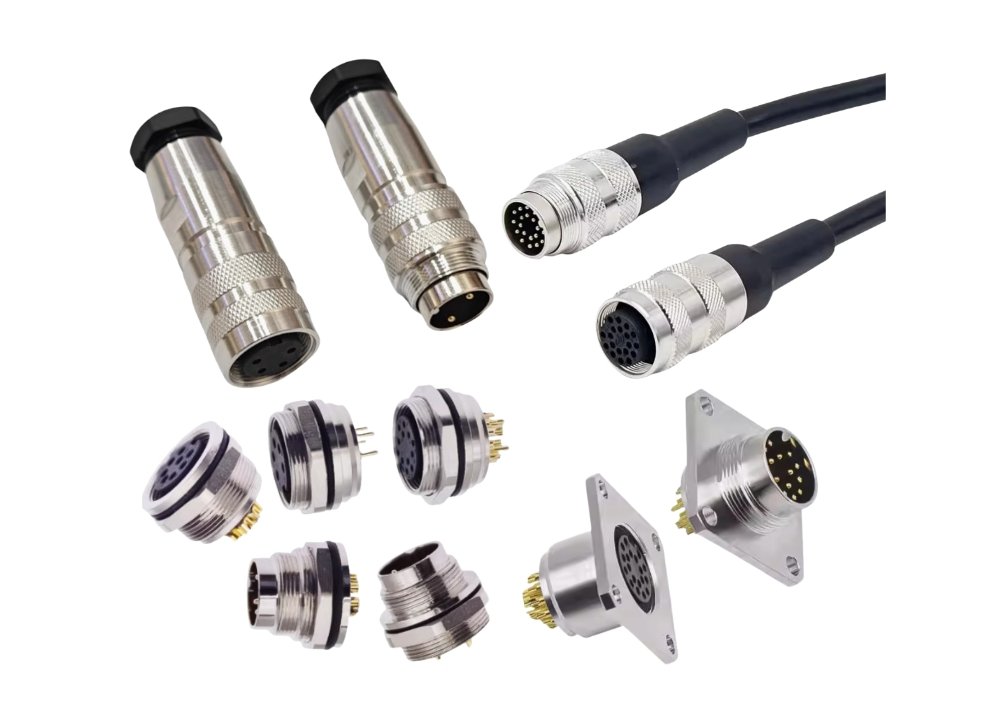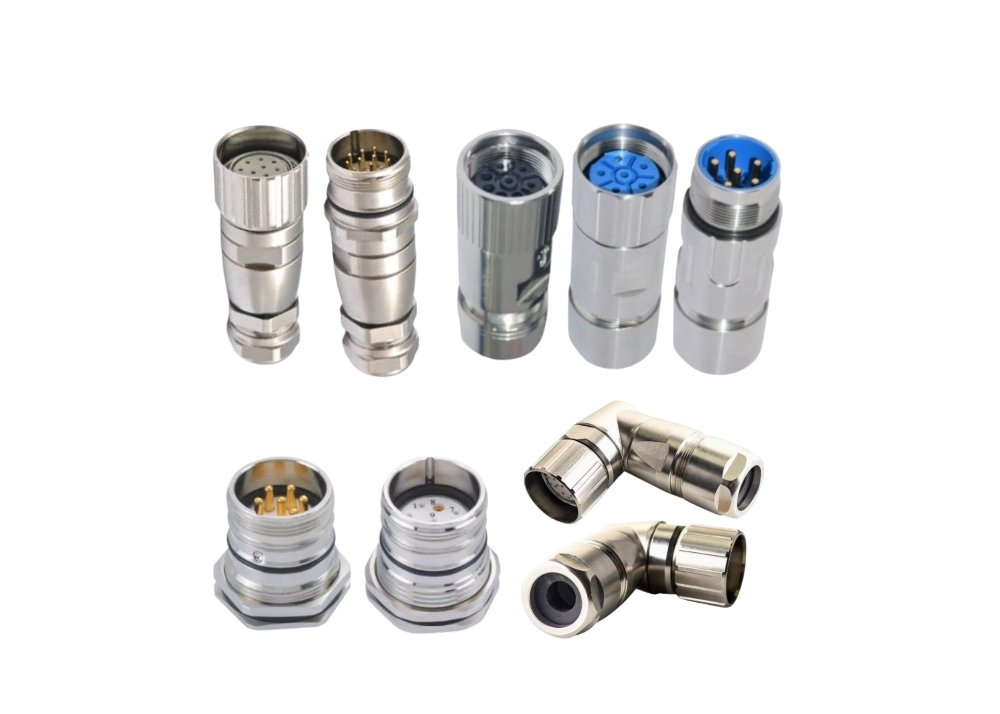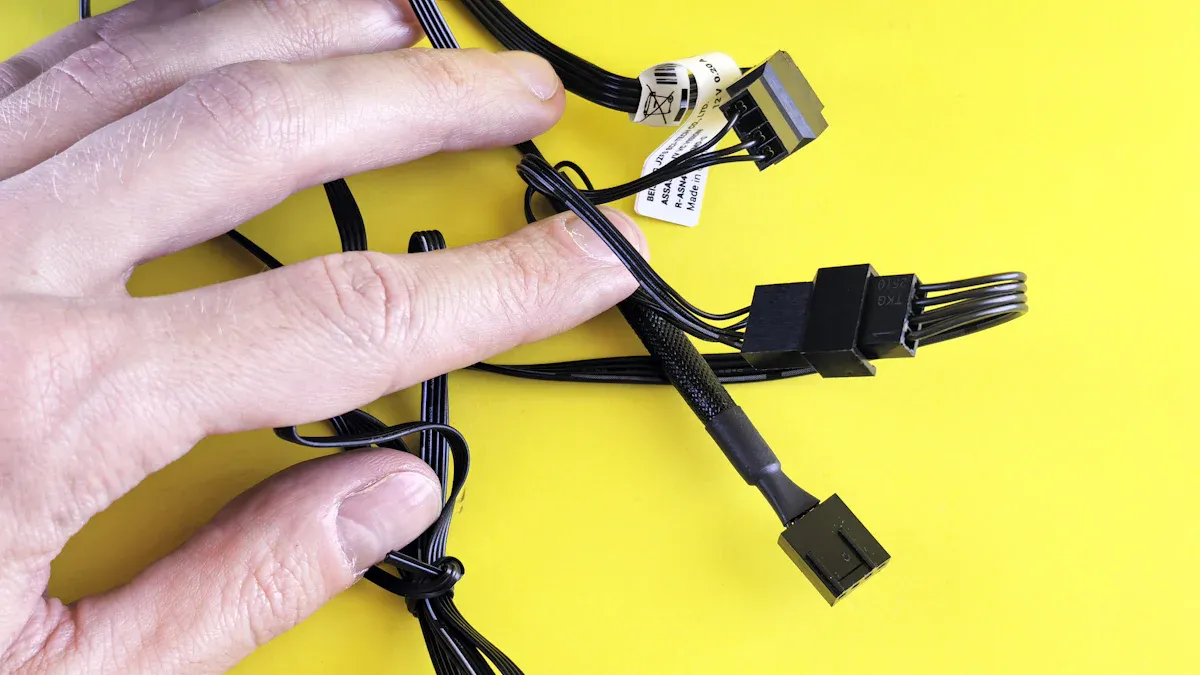
You often encounter molex 6-pin connectors in demanding applications that require a reliable connection. If you see a device powered by a Type B connector or an M8 connector, you know the importance of following the connector standard. Problems like intermittent signals or power loss may signal issues from the Connector factory, such as misalignment or corrosion. Quick identification of these symptoms helps you maintain reliable connections and prevent downtime in your systems.
Recognizing Problems with Molex 6-Pin Connectors

Common Failure Symptoms
Intermittent Power Loss
You may notice flickering lights or devices that power off unexpectedly. Intermittent power loss often points to a poor connection within the molex 6-pin connector. This issue can disrupt applications that rely on stable voltage and current. If you experience these symptoms, check for loose fits or movement when you test the connector.
Device Not Recognized
When your system fails to detect a device, the connector may not be making proper contact. This problem can occur in wire-to-board connectors, especially if the pins do not align with the connector standard. Devices that are not recognized may indicate misaligned or damaged pins inside the 6-pin connectors.
Overheating or Burning Smell
A burning odor or excessive heat signals a serious problem. Overheating often results from increased resistance due to corrosion or oxidation on the connector’s metal surfaces. Moisture and contaminants can accelerate this process, leading to damaged insulation and potential electrical shorts. You should address these issues immediately to maintain reliable connections.
Physical Damage Signs
Physical inspection can reveal cracks, bent pins, or corrosion. These visible signs often indicate that the connector cannot provide a reliable connection. You might also find that the connector feels loose or unstable, which can compromise the performance of your molex 6-pin connector.
Tip: Regularly inspect connectors for visible damage or unusual odors to catch problems early.
- Common symptoms of connector failure include:
- Intermittent electrical failures
- Visible damage such as cracks or corrosion
- Loose fit or movement
- Unusual odors or heat
Detecting Wiring Errors
Misaligned Wires
Misaligned wires can prevent the connector from seating properly. You may see wires that do not match the pin layout, which can cause devices to malfunction or fail to power on. Always verify that each wire enters the correct slot in the connector.
Incorrect Pin Assignments
Incorrect pin assignments can lead to reversed polarity or improper voltage delivery. This mistake can damage sensitive electronics or cause erratic behavior in your applications. Double-check the wiring diagram and ensure that each pin matches the intended function according to the connector standard.
Spotting Compatibility Issues with Molex Connector Types
Connector Mismatch
You may encounter problems when mating connectors from different manufacturers. Even if two connectors look similar, small differences can cause failures or safety risks. The lack of a published standard for pin 1 between molex and other brands, such as Amp, can create compatibility issues.
| Issue Description | Source |
|---|---|
| Mating connectors from different manufacturers can lead to failures and risks in performance and safety. | EEVBlog |
| There is no published standard for pin 1, leading to compatibility issues between Molex and Amp connectors. | Djerickson |
Voltage and Current Ratings
Always check the voltage rating and current rating before connecting different types of molex connectors. Using a connector outside its specified ratings can cause overheating, damage, or unreliable operation. Review the manufacturer’s datasheet to confirm that your connector meets the requirements of your application.
Step-by-Step Diagnostic Guide for Molex 6-Pin Connectors
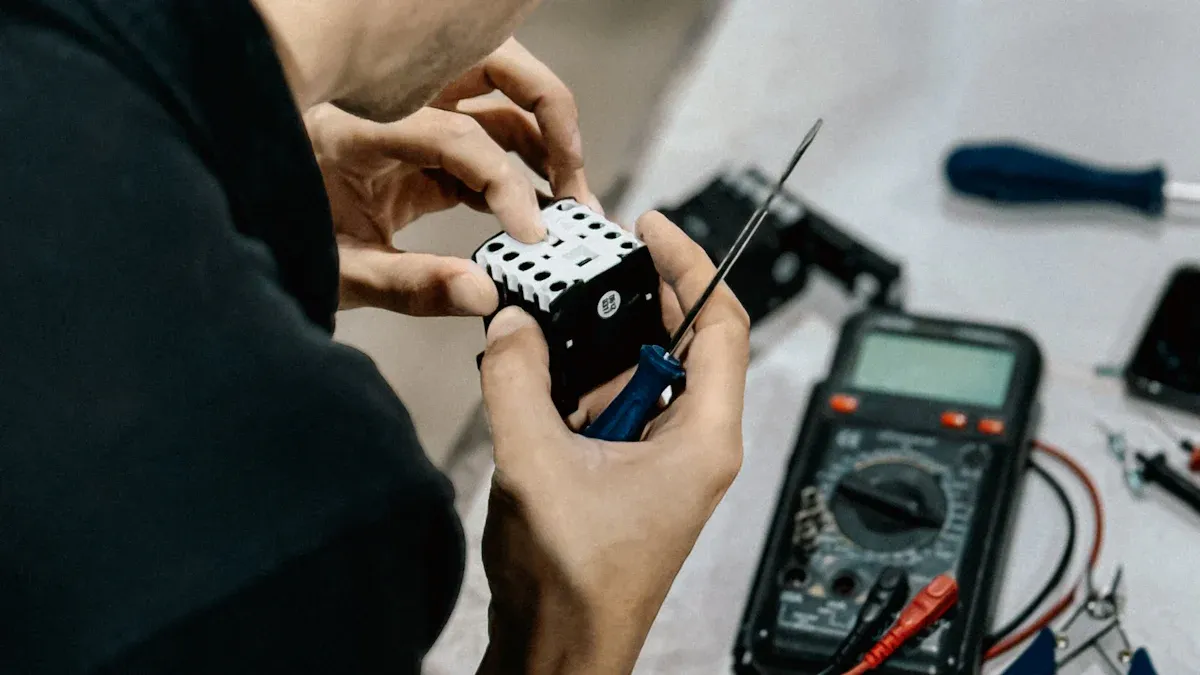
When you troubleshoot molex 6-pin connectors, you need a systematic approach. This guide helps you identify issues quickly and maintain reliable connections in your applications.
Visual Inspection Methods
Checking for Bent Pins
Start by disconnecting the connector and examining the pins closely. Bent pins can prevent proper contact and disrupt the flow of electricity. Hold the connector under good lighting and look for any pins that appear out of alignment. If you see a bent pin, use a small tool to straighten it gently. Avoid using excessive force, as this can break the pin or damage the housing.
Tip: Always inspect both the male and female sides of the connector. Even a slight bend can cause intermittent failures.
Inspecting for Corrosion or Debris
Corrosion and debris often build up on the metal surfaces inside the connector. This buildup increases resistance and can lead to overheating or unreliable operation. Look for discoloration, green or white residue, or any foreign particles. If you find corrosion, clean the contacts with a contact cleaner and a soft brush. Make sure the connector is dry before reconnecting.
Electrical Continuity Testing
Using a Multimeter
A multimeter helps you verify the integrity of each connection. Set your multimeter to the continuity mode. Insert one probe into the corresponding pin on each side of the connector. If the multimeter beeps or shows a low resistance value, the connection is good. Repeat this process for all six pins.
Interpreting Test Results
If you do not hear a beep or see a high resistance reading, you have an open circuit. This result means the connector may have a broken pin, a loose wire, or internal damage. You should repair or replace the connector to restore reliable performance. Consistent readings across all pins confirm that your wiring and contacts meet the connector standard.
Verifying Compatibility with Molex Connector Types
Matching Connector Types
You must ensure that both sides of the connection use compatible molex connector types. Even small differences in design can cause poor fit or electrical failure. Check the part numbers and physical layout. The 6-pin (2×3) matrix supports versatile wiring needs, but only when you match the correct types.
Reviewing Manufacturer Specifications
Before installation, review the manufacturer’s specifications to confirm compatibility and safety. Pay attention to the number of circuits, current rating, voltage rating, and temperature range. These values ensure the connector can handle your application’s demands.
| Specification | Value |
|---|---|
| Number of Circuits | 6 |
| Maximum Current per Contact | 14A |
| Temperature Range | -40°C to +105°C |
You should also remember these key points:
- 6-pin (2×3) matrix for versatile wiring needs
- High current capacity of up to 14A per contact
- Safe temperature rating from -40°C to +105°C
By following these steps, you can maintain reliable connections and prevent failures in your systems. Always check the connector standard and confirm that your molex 6-pin connectors meet the voltage rating and current rating required for your applications.
Solutions for Common Molex 6-Pin Connector Issues
Fixing Connection Failures
Cleaning Contacts
Dirty or oxidized contacts often cause unreliable connections in molex 6-pin connectors. You should clean the contacts to restore performance. Use a recommended cleaning agent and a soft brush to remove dirt and oxidation from the pins. The table below lists several effective cleaning agents:
| Cleaning Agent | Description |
|---|---|
| CRC Electrical Terminal Cleaner | Spray and blow dry for thorough cleaning. |
| Spray Electronics Cleaner | Widely available; CRC brand is a popular choice. |
| Spray Contact Cleaner | Use liberally and cycle the connector to ensure deep cleaning. |
| WD-40 | Suitable for exposed areas; use sparingly. |
| Contact Cleaner (not WD-40) | Often preferred for cleaning connectors. |
Tip: After cleaning, let the connector dry completely before reconnecting to prevent short circuits.
Re-seating the Connector
Sometimes, a poor fit causes intermittent failures. You should disconnect and firmly reconnect the connector, ensuring it clicks into place. Test the connection using a multimeter to check for voltage drops or breaks in continuity. If the connector feels loose or the clips are broken, replacement is necessary. Frequent disconnections or a complete loss of continuity indicate that you need a new connector that meets the connector standard for durability.
Correcting Wiring Errors
Rewiring Pins Correctly
Incorrect pin assignments or misaligned wires can disrupt wire-to-board and wire-to-wire applications. Always consult the wiring diagram for your molex 6-pin connector. Remove the wires and insert them into the correct slots, matching the connector standard. Double-check each pin to ensure proper voltage rating and current rating for your application.
Securing Loose Wires
Loose wires can cause unreliable connections and device failures. Use the right tools to secure wires in the connector. Good quality crimp tools create a gas-tight crimp, which ensures a reliable connection. For small volumes, simple hand tools work, but professional crimp tools from molex handle various sizes and provide better results.
- Essential tools for securing wires:
- Quality crimp tool for gas-tight connections
- Dedicated tool for specific crimp types
- Molex-specific tool for multiple sizes
Addressing Compatibility Problems with Molex Connector Types
Selecting the Right Connector
Choosing the correct connector type prevents compatibility issues. Measure the distance between devices to determine the required cable length. Identify if you need exposed contacts on the same side (Type A) or opposite sides (Type D). For static applications, select a thicker cable. For dynamic applications, use a Premo-Flex cable. Sample cables and conduct reliability testing to ensure the connector meets your needs.
Adjusting Power Settings
Always verify that your connector matches the voltage rating and current rating required by your application. Review the manufacturer’s specifications for molex connector types to ensure safe operation. Using the correct connector type and power settings helps you maintain reliable connections in all your applications.
Repairing or Replacing Damaged Molex 6-Pin Connectors
Replacing Broken Pins
When you discover broken or damaged pins in your molex 6-pin connectors, you need to act quickly to restore reliable connections. Damaged pins can disrupt both wire-to-board and wire-to-wire applications, leading to power loss or device malfunction. Begin by disconnecting the connector and inspecting each pin for visible signs of wear, bending, or corrosion.
To replace broken pins, follow these steps:
- Heat the solder joint for each damaged header pin using a soldering iron. Wait until the solder melts completely.
- Gently pull the pin out of the connector housing with tweezers or pliers.
- Insert a new header pin into the correct slot, ensuring it matches the connector standard for your application.
- Solder the new pin in place, making sure the joint is clean and secure.
- Allow the solder to cool before reconnecting the connector.
Tip: Practice crimping on scrap wires before attempting repairs on your actual connector. This helps you achieve a proper crimp and avoid damaging the wire or pin.
Before you start, check the gauge of the wire to ensure compatibility with the new pin. Use the correct crimp tool size to avoid improper crimps. If you notice repeated failures, consider changing connector types to better suit your voltage rating and current rating requirements.
These polarising keys allow you to block off one of the holes in the housing to prevent misconnection. It is advisable to install these to avoid potential wiring errors.
Installing a New Connector
Sometimes, damage extends beyond individual pins, requiring you to install a completely new connector. This process ensures your system maintains reliable performance and meets the connector standard for your applications.
Before installation, prepare your workspace:
- Wear safety gloves and safety goggles to protect yourself from sharp edges and solder splashes.
- Utilize insulated tools to prevent electrical shock.
- Ensure your workspace is clean and dry.
- Disconnect the vehicle battery or power source before starting work.
- Keep flammable materials away from heat sources.
To install a new molex connector, follow these guidelines:
- Strip the insulation from each wire, exposing just enough conductor for a secure crimp.
- Check the wire gauge and select the correct crimp terminal for your connector.
- Use a quality crimp tool to attach terminals to each wire, ensuring a gas-tight connection.
- Insert each terminal into the connector housing, matching the correct pin layout for your application.
- Double-check that all wires are secure and that the connector clicks into place.
After installation, test the connector for continuity and verify that it meets the voltage rating and current rating required for your system. This careful approach helps you maintain reliable connections and extends the lifespan of your molex 6-pin connectors.
Quick-Reference Troubleshooting Checklist for Molex 6-Pin Connectors
Visual Inspection Steps
You should always begin troubleshooting with a careful visual inspection. This step helps you catch obvious issues before moving to more advanced diagnostics. Follow these steps to ensure your connector meets the connector standard:
- Examine the connector housing for cracks, discoloration, or warping.
- Check each pin for bending, corrosion, or missing metal.
- Inspect the wire entry points. Look for frayed or exposed wires.
- Confirm that the locking mechanism clicks securely when you connect.
- Look for any debris or foreign material inside the connector.
Tip: Use a magnifying glass and a bright light to spot small defects that could affect reliable connections.
Electrical Testing Steps
After you complete the visual inspection, you should verify the electrical integrity of your molex 6-pin connector. Electrical testing ensures that your applications receive stable power and signal transmission.
- Set your multimeter to continuity mode.
- Touch one probe to a pin on one side of the connector and the other probe to the corresponding pin on the opposite side.
- Listen for a beep or check for a low resistance reading. This indicates a good connection.
- Repeat this process for all six pins.
- Measure the voltage rating and current rating at each pin if your application requires precise power delivery.
| Test Step | Expected Result |
|---|---|
| Continuity Check | Beep or low resistance |
| Voltage Measurement | Matches voltage rating |
| Current Measurement | Within current rating |
If you find an open circuit or inconsistent readings, you should repair or replace the connector immediately.
Compatibility Verification Steps
You must confirm that your connector matches the requirements of your system. Compatibility checks prevent failures and help you maintain reliable performance.
- Compare the part number and physical layout of both connectors.
- Review the manufacturer’s datasheet for the correct voltage rating and current rating.
- Ensure the connector type matches the connector standard used in your system.
- Check that the connector supports the number of circuits and pin arrangement needed for your applications.
- Verify that the temperature and environmental ratings meet your operating conditions.
Note: Using the wrong connector type can lead to overheating, poor fit, or even permanent damage to your equipment.
By following this checklist, you can quickly identify and resolve most issues with your molex 6-pin connector. This approach helps you maintain reliable connections and extend the lifespan of your components.
Repair and Replacement Steps
When you encounter persistent issues with your Molex 6-pin connector, you need to follow a structured repair and replacement process. This approach helps you restore reliable performance and prevent future failures in your applications.
Step-by-Step Repair Process:
-
Disconnect Power
Always disconnect the power source before you begin any repair. This step protects you from electrical shock and prevents accidental short circuits. -
Remove the Connector
Gently detach the connector from its socket. Avoid pulling on the wires, as this can cause further damage. -
Inspect for Damage
Examine the connector housing and pins. Look for signs of corrosion, bent pins, or melted plastic. If you see any of these issues, you may need to replace the connector. -
Clean the Contacts
Use a contact cleaner and a soft brush to remove dirt or oxidation from the pins. Allow the connector to dry completely before proceeding. -
Repair Minor Issues
If you find a bent pin, use needle-nose pliers to straighten it carefully. For loose wires, re-crimp the terminal using the correct crimp tool. Make sure each wire sits securely in its slot. -
Test Continuity
Use a multimeter to check for electrical continuity across all six pins. A successful test confirms that your repair restored the connection.
Replacement Guidelines:
If cleaning and minor repairs do not resolve the issue, you should replace the connector. Follow these steps:
- Cut off the damaged connector using wire cutters.
- Strip a small section of insulation from each wire.
- Attach new crimp terminals to the wires using a quality crimp tool.
- Insert the terminals into a new Molex 6-pin housing, matching the correct pin layout.
- Double-check your work by gently tugging each wire to ensure it is secure.
Tip: Always use replacement parts that match the original connector’s specifications. This practice ensures compatibility and safety.
Common Tools for Repair and Replacement
| Tool | Purpose |
|---|---|
| Multimeter | Test continuity and voltage |
| Crimp Tool | Attach terminals to wires |
| Needle-Nose Pliers | Straighten pins and hold wires |
| Wire Cutters | Remove damaged connectors |
| Contact Cleaner | Clean pins and contacts |
By following these repair and replacement steps, you can maintain the integrity of your Molex 6-pin connectors. This process supports reliable operation in all your applications.
Preventing Future Issues with Molex 6-Pin Connectors
Proper Installation Practices
Avoiding Excessive Force
You should always handle each connector with care during installation. Applying too much force can bend pins or crack the housing, which leads to unreliable connections. When you insert or remove a molex connector, align it carefully and press gently until it clicks into place. Never force a connector if it resists; check for obstructions or misalignment first.
Ensuring Correct Orientation
Correct orientation is essential for maintaining the connector standard and preventing damage. Before you connect, verify the keying features and pin layout. Inserting the connector the wrong way can cause bent pins or even short circuits. Many installation mistakes happen when you rush or overlook the orientation. Take a moment to double-check before you proceed.
Tip: Practice with spare pins and housings to perfect your technique and avoid costly errors.
Here are best practices for installing a molex 6-pin connector:
- Use a proper crimping tool instead of needle nose pliers for reliable connections.
- Strip the wire just enough to reach the crimp point, avoiding excess wire exposure.
- Crimp the wire into the connector securely, ensuring a tight fit.
- If soldering, apply a small amount of solder to avoid blocking the pin from sliding into the plug.
- Tin the wire before soldering to prevent stray strands and ensure good flow.
- Use flux on the connector after crimping to enhance soldering quality.
- Be cautious with soldering; too much solder can impede the connector’s functionality.
- Practice with spare pins to perfect your technique.
Common mistakes during installation can lead to connector failure. The table below highlights these issues:
| Mistake Description | Impact |
|---|---|
| Bad crimp connections | Essential for maintaining rated current of 3A |
| Crimp pins not fully inserted into the shell | Prevents proper locking and connection |
Routine Maintenance for Molex Connector Types
Regular Cleaning
You should clean your connectors regularly to prevent oxidation and debris buildup. Use a contact cleaner and a soft brush to remove dust and contaminants. This simple step helps maintain the voltage rating and current rating required for your applications.
Scheduled Inspections
Set a schedule to inspect each connector for signs of wear, corrosion, or physical damage. Early detection allows you to address minor issues before they cause failures. Document your inspections and replace any connector that shows signs of deterioration.
Storage and Handling Guidelines
Protecting from Moisture
Proper storage protects your molex connectors from environmental damage. Moisture can cause corrosion and degrade the connector materials. Store connectors in a dry, climate-controlled area to prevent exposure to humidity or direct liquid contact.
| Environmental Factor | Description |
|---|---|
| Moisture | Can occur in highly humid air or direct splash from liquids. |
| Exposure to chemicals | Can corrode connector materials. |
| Thermal cycling | May degrade insulator materials if cycling is extreme. |
| Solid debris | Such as dust or metal shavings, can interfere with connector mating. |
Preventing Physical Stress
Handle each connector gently to avoid physical stress. Dropping or bending connectors can cause cracks or misalignment. Use protective packaging during transport and storage. Avoid stacking heavy objects on top of stored connectors to maintain their shape and function.
Note: Consistent care during installation, maintenance, and storage ensures reliable connections and extends the lifespan of your connectors.
You can maintain reliable connections in your applications by following a structured troubleshooting process for molex 6-pin connectors. Always check connector pin alignment and, if needed, reposition the ground pin to match the corresponding slot. Regular cleaning and scheduled inspections help you prevent issues with molex connectors. Use the troubleshooting checklist to ensure each connector supports safe and reliable operation.
- Key steps for effective maintenance:
- Confirm proper pin alignment.
- Adjust ground pin placement when necessary.
- Clean and inspect connectors regularly.
Consistent care and attention to detail extend the lifespan of your molex connectors and support reliable connections.
FAQ
What is a Molex 6-pin connector used for?
You often use a Molex 6-pin connector in power delivery for computer hardware, such as graphics cards. This connector supports high-current applications and ensures stable connections in demanding environments.
How do you identify a faulty connector?
You can spot a faulty connector by checking for bent pins, corrosion, or a loose fit. Physical damage or a burning smell also signals problems. Always inspect both sides of the connector for reliable operation.
Can you repair a damaged Molex connector, or should you replace it?
You can repair minor issues, such as bent pins or loose wires, using proper tools. If you see severe damage or repeated failures, you should replace the connector to maintain safety and performance.
What tools do you need for Molex connector maintenance?
You need a quality crimp tool, wire cutters, a multimeter, and contact cleaner. These tools help you secure wires, test continuity, and clean contacts for optimal connector performance.
How do you ensure compatibility between connectors?
You should match the connector type, pin layout, and manufacturer specifications. Always check the datasheet for voltage and current ratings. Using the correct connector prevents failures in your applications.
Why does a connector overheat during use?
Overheating often results from poor contact, corrosion, or exceeding the current rating. You should clean the connector and verify that it meets the required specifications for your system.
How often should you inspect Molex connectors?
You should inspect each connector during routine maintenance or whenever you notice performance issues. Regular checks help you catch problems early and extend the lifespan of your connectors.

